Wordpress is a content management system (CMS) that powers millions of websites around the internet. It's powerful and extensively customizable, but also simple enough for anyone to get started.
We've build a simple plugin for Wordpress that makes it easy to integrate Kayako Messenger into any Wordpress site, without requiring any technical knowledge.
In this article, we'll take you through how to get Kayako Messenger up-and-running on your Wordpress site.
Installing and configuring the Kayako Messenger plugin
To add Messenger to your Wordpress site, you'll need a self-hosted instance (not a wordpress.com account) to which you'll add the Messeneger plugin. You'll also have the option to automatically login visitors using their credentials on your Wordpress site.
NOTE: You'll need to have admin credentials for both your Wordpress site and your Kayako instance to install and configure the Kayako Messenger plugin.
To add Kayako Messenger to your Wordpress site:
- Log into your Wordpress site.
- Visit the plugin library and download the Kayako Messenger for Wordpress plugin.
- Navigate to the Add New Plugins page in your Wordpress admin settings.
- Select Upload Plugin at the top of the page.
- Click Choose File and navigate to the folder where the downloaded file is saved.
- Click on Install now.
- When you see a message saying "Plugin installed successfully," click the Activate Plugin button.
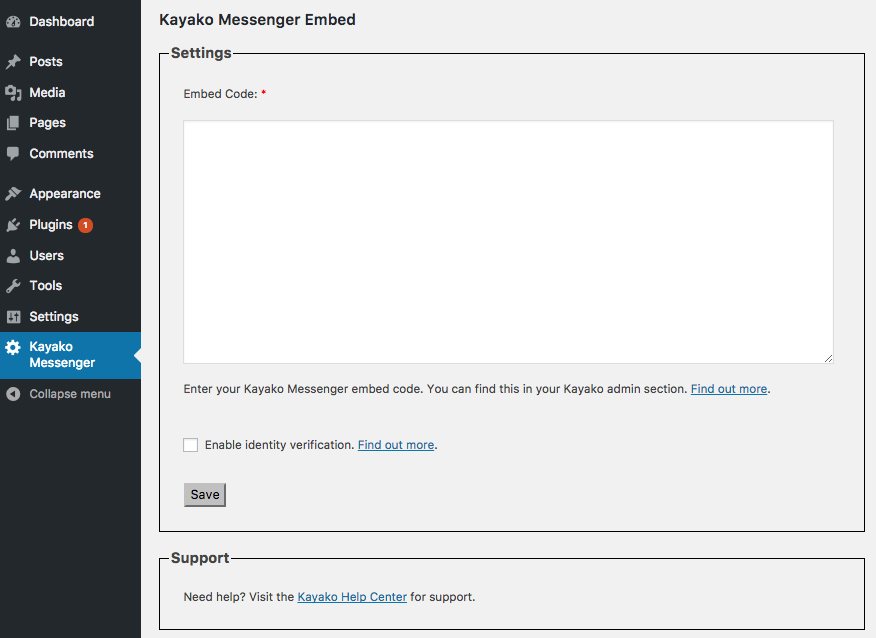
- Navigate to the Kayako Messenger page in your Wordpress sidebar.
- In another browser tab, navigate to the Kayako Messenger admin page.
- Follow the steps to customize your Kayako Messenger, and click the Copy embed code button to grab the code.
- Switch back to Wordpress, and paste the embed code in the box provided.
- Optionally, you can also check the Enable identity verification box, which will automatically identify Messenger users by their credentials on your Wordpress site.
- Once you've checked the box, switch back to the Kayako admin area and click Identity verification in the sidebar.
- Copy the Web device token displayed here.
- Switch back to Wordpress and paste in the token.
- Click Save to finish enabling Kayako Messenger on your Wordpress website.
Your visitors will now be able to message your support team directly. Visit your site to see it in action!
Note: If you ever need to remove a user's identity from Messenger when they log out of your Wordpress site, you'll need to implement the 'forget' functionality. This involves editing your Wordpress theme files directly. For more information, visit the Kayako developer docs.
James Doman-Pipe