Welcome to Kayako! We're so happy to have you here! To help you start serving your customers using Kayako, we've put together this guide to walk you through the basics of getting up and running. Each step below will walk you through the basics, and then link off to an article with detailed explanations and instructions for that particular task.
We've charted the following course to help you get started helping your customers as quickly and smoothly as possible:
- Step 1: Take a tour of the Kayako interface
- Step 2: Add user accounts for your staff
- Step 3: Set up your support channels
- Step 4: Get your team ready to start handling conversations
- Step 5: Fine tune your views
- Step 6: Add content to your Help Center
- Step 7: Explore your next steps
Step 1: Take a tour of the Kayako interface
To get oriented in Kayako, we recommend starting out with this video tour. We'll take you quickly through each area of the interface and introduce some key features.
You can find more detail on each area of Kayako in our overview articles about the agent area, the admin area, and the Help Center.
Step 2: Add user accounts for your staff
After you've taken a look around, it's a good idea to start adding user accounts for your agents. Each agent will need their own user account, which will let them log in to the agent area and start viewing and responding to conversations. You can quickly add staff users from the admin area, by clicking Team Directoryon the sidebar.
NOTE: The number of agent accounts you'll be able to add depends on how many seats your subscription includes.
Learn more in our article about creating user accounts.
Step 3: Set up your email, real-time, and social support channels
Next step is to get Kayako ready to take questions from your customers—no matter what their preferred method of communication. By default, your customers can start up a new conversation from your Help Center, but you'll likely also want to:
- Add one or more email addresses that Kayako will use to receive and send messages. Learn more in our article on configuring email accounts.
- Enable Kayako Messenger—our real-time support tool—on your Help Center. Learn more in our article on enabling live support with Messenger.
- Connect your social media accounts to offer support via Twitter or Facebook. Learn more in our articles on setting up Twitter support and connecting to Facebook pages.
Step 4: Get your team ready to start handling conversations
Once you have a support channel or two set up, it's time to get your team started with actually replying to and updating conversations. Each conversation combines a unified timeline of your interactions with the customer, on any channel, with a powerful toolbar that lets you reply to, assign, categorize, and otherwise move the conversation along.
Help your team get started with our article about responding to support conversations.
Step 5: Fine tune your views
As your queue starts to get busier, it's useful to give your support team lots of ways to slice and dice their workload. Maybe they need to see only the conversations assigned to their team, only the conversations from a particular organization, or only the conversations set to a particular priority level. Customizing views lets you filter conversations however you want.
Learn more in our article about customizing views.
Step 6: Add content to your Help Center
Since self-service is a valuable resource for your support team, now is a good time to get some content up onto your Help Center. Kayako includes a set of frictionless content management tools, allowing you to add, edit, and organize your self-service content right from the Help Center.
Learn more in our article about managing Help Center content.
Step 7: Explore your next steps
Now that you've got the basics down, why not dive a little deeper and explore some of Kayako's more powerful features? Here are a few things you might try out next :
- Organize your staff into functional teams
- Customize your forms
- Learn how automation works in Kayako
- Set up SLAs and escalations
- Customize the appearance of your Help Center
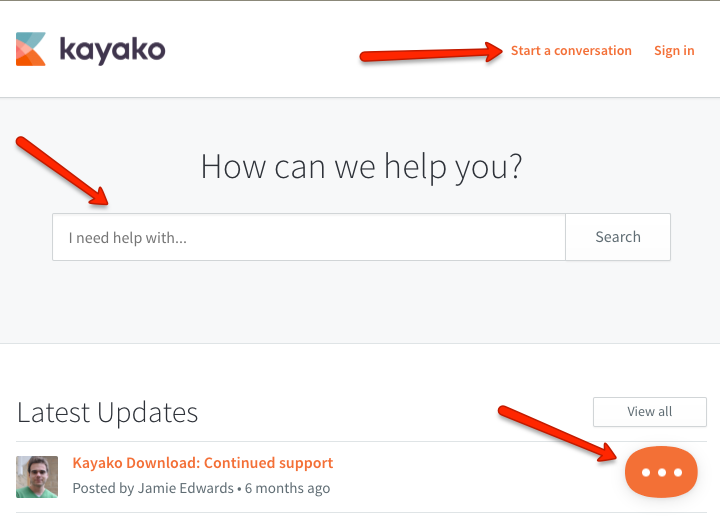
Of course, if at any point you run into a question, we'd love to hear from you! Hit us up from the Messenger pop-up below, the Help Center search above, or the Start a conversation link up top.
Kelly O'Brien