Real-time support can eat up a lot of your resources, so sometimes you want to be able to offer it only at particular times or to specific customers. With a little bit of light editing to your Help Center templates, you can achieve either of these goals.
In this article, we'll go over the changes you need to make to your Help Center templates to only display Kayako Messenger either only at certain times of day or only to users who are logged in.
Restrict when or to whom Messenger is displayed
Whether you want to restrict Messenger by time of day, or by whether or not a user is logged in, the process is virtually the same. First, you'll turn off the switch that automatically displays Messenger. Then you'll generate a Messenger embed code manually. And finally you'll add that code block to your Help Center templates surrounded by a pair of tags that will check either the time of day or whether the user is logged in or not.
NOTE: To restrict Messenger to, you will need an administrator account with the 'Manage channels' permission.
To restrict Messenger:
- Sign into the Help Center.
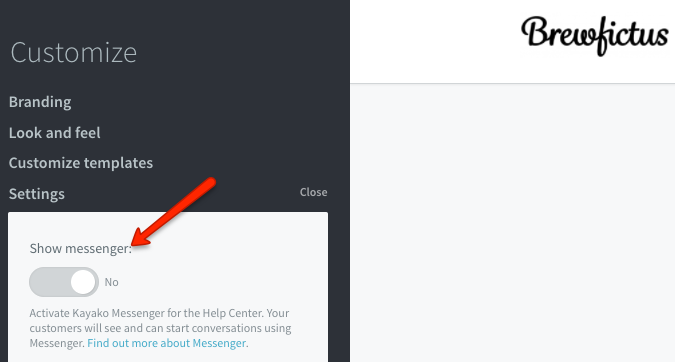
- Click the Customize button on the top toolbar.
- Click Settings and set the Show Messenger toggle to 'No'.
- Switch to the admin area, and click Configure under the 'Messenger' heading.
- Go through the steps to generate a new Messenger embed code. You can find detailed instructions for that process in our user guide article on the subject.
- When you're done customizing Messenger, copy the embed code you generate and drop it in a text file.
- Switch back to the Help Center.
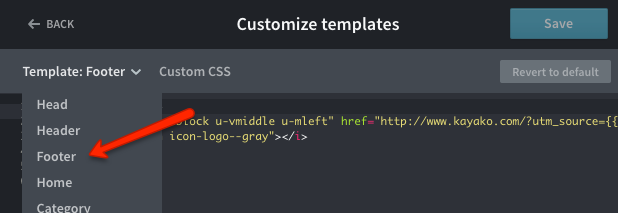
- Click Customize again, and then Customize templates.
IMPORTANT NOTE: Anytime you're editing Help Center templates, we recommend you save a copy of the existing code before making changes, in case you need to roll back. - From the template dropdown, select 'Footer'.
- At the bottom of the template locate the final
</div>tag. - Immediately above that tag, you're going to add one of the following pairs of tags:
To use a date filter to only display Messenger between 9 am and 7 pm:
{% if ("now"|date("H") >= 9) and ("now"|date("H") <= 19) %}

{% endif %}
To use a date filter to only display Messenger only on weekdays:
{% if ("now"|date("N") >= 1) and ("now"|date("N") <= 5) %}

{% endif %}
You can change the beginning and ending hours by changing the numerals in the
{% if %}tag.
NOTE: Read more about the kinds of parameters you can use withdatehere in the PHP documentation.
To restrict Messenger only to users who are logged into the Help Center:
{% if current_user is defined %} {% endif %} - Whichever restriction you're using, your last step is to paste your Messenger embed code block between the
{% if %}and{% endif %}tags. - Click the Save button at the top of the customize pane.
And that's it! Your Messenger icon will now only display either during the hours you specified or only to visitors who are logged into your Help Center.
Amaninder Singh