IMPORTANT NOTE: You must be running Kayako 4.65 or higher in order to migrate your data to the new Kayako platform.
Before upgrading from Kayako Classic to the new platform, there are a few steps you'll need to take, to get your data in shape for migration.
First things first: Send us an email at support@kayako.com and let us know that you're interested in migrating to the new platform. This will give you a chance to tell us about any particular needs or concerns your team has, and us a chance to explain what to expect from the migration process.
Once you're ready to get started, you'll want make sure your data is in the best shape to migrate. There are a handful of steps to take before making the switch:
- First, we recommend a little bit of housekeeping, to make sure you're only migrating the data that you regularly use.
- You'll also do an inventory of certain Kayako Classic features to make it easier to rebuild them on the new platform.
- There’s a little bit of planning required around your knowledge base, to come up with a hierarchy that works with the new categorization tiers.
- And finally, Download customers will need to create and share a copy of your database.
To help guide you through this process, we've created a migration worksheet which will help you track your progress, and give you a place to capture your data. If you haven't yet, download a copy. When you're done filling it out, we'll have you share a copy with us, so we can review it before we start the migration.
Below, we'll go through each part of the process in detail.
Cleaning house
Before migrating your data, you want to make sure we're only moving the data you need. We know first-hand that after using Kayako for a few years, things can get a little out of control. For example, when we moved our own support team from Kayako Classic up to the new platform, we went from 72 custom statuses to just five!
We strongly recommend auditing your departments, email queues, statuses, ticket fields, and staff accounts, as well as knowledge base articles and news. This last one is particularly important since, thanks to the new unified search, customers could easily stumble across news articles that are years old! Basically, you want to identify anything that's outdated or extraneous, and remove it. The less cluttered your data is, the smoother transition to the new platform will be.
Capturing defaults and business rules so you can rebuild them
For the Kayako Classic features that don't have direct analogs on the new platform, we're not able to transfer that data, since it won't have anywhere to live. Sort of a square peg, round hole situation. But that's why we've put together the migration worksheet we mentioned above.
The worksheet gives you a place to record all your non-transferable data. It will also point you in the right direction for how to take what you captured, and translate it using features in the new Kayako.
When you've completed the migration worksheet, we'll ask you to email us a copy, so we can double-check that you're in good shape to start the migration process!
Reorganizing your knowledge base articles
Unlike Kayako Classic's relatively infinite categorization options, the Help Center in the new Kayako has a much more streamlined hierarchy. This change was made to make it easier for teams of all sizes to keep their self-service content clear, organized, and accessible.
The Help Center hierarchy has three levels:
- Categories, which live on the front page
- Sections, which are grouped under categories
- Articles, which live within a particular section
During the migration process, all of your knowledge base articles will be brought over into a 'Knowledge base' category on the Help Center. All of your existing categories will come over as sections. That means that any nested categorizations will get flattened out, during the migration. Each article will be tagged with their full categorization path, for easy reference, when you're reorganizing.
To make this step of the process as painless as possible, it's best to come up with a plan for your information architecture that consists of categories, broken down into sections. The last tab on the migration worksheet has a place for you to record the new organizational structure you plan to use.
That tab also has a place for you to add an inventory of your knowledge base articles so you can make a note of where they're going to live in the new hierarchy. That way, once you've migrated, your team will be able to quickly build out your new categories and sections, and then go down the article list and recategorize them.
NOTE: If you're planning to host self-service content for multiple product lines, companies, or brands, you have the option to host multiple Help Centers with the help of the brands feature.
If you're an OnDemand customer, you're all set! You can head over to the next article, to get started with a test instance!
Download Customers Only: Handing off a backup of your database
If you are migrating data from your a self-hosted Kayako Classic instance, there's one extra step – you’ll need to create a full backup of your database and 'files' directory, which you'll share with us using a secure link. We'll walk through the process, below.
To make and share the backup:
- Log in to your server.
- Create a directory named
DataMigration. - First, we'll make the database backup. Create a new directory named
dbinsideDataMigration. - Run one of the following commands, filling in your details for each [placeholder], to save a local backup of your Kayako Classic database:
- On Windows Environments:
mysqldump --skip-triggers --skip-events --skip-routines -u [your username] -p[your password] [your database name] [file path of your DataMigration folder]\db\backup.sql
NOTE: If you try to run this command and it tells you the program cannot be found, navigate to the directory where the MySQL dump tool has been installed and run it again, usually: C:\"Program Files"\MySQL\"MySQL Server 5.5"\bin\mysqldump. - On Linux Environments:
mysqldump --skip-triggers --skip-events --skip-routines -u [your username] -p[your password] [your database name] > [file path of your DataMigration folder]/db/backup.sql
NOTE: If you try to run this command and it tells you the program cannot be found, navigate to the directory where the MySQL dump tool has been installed and run it again. You can get there by typing ‘which mysqldump’ and then navigating to the path the command returns.
- On Windows Environments:
-
Gzip the
backup.sqlfile.gzip [file path of your DataMigration folder]/db/backup.sql
This will create abackup.sql.gzfile insidedb. - Next, it's time to copy your file attachments. There's a couple of things to take note of here:
- First, to cut down on transfer time, it's a good idea to purge older attachments before copying the 'files' directory.
NOTE: For help with this, check out our instructions for purging attachments. - Then, from the root directory, open the
__swiftdirectory, and copy thefilesdirectory into yourDataMigrationfolder. - Finally, if you have any attachments stored somewhere other than
__swift/files, they will not be imported. You'll need to store a local copy of them, so you can upload them again after the migration.
- First, to cut down on transfer time, it's a good idea to purge older attachments before copying the 'files' directory.
- Your
DataMigrationdirectory should now have the following structure:DataMigration ├── db │ └── backup.sql.gz └── files ├── file1 ├── file2 └── ...
- Go inside your
DataMigrationdirectory and compress the two folders: NOTE: We can only accept this file in .tar.gz format.tar -zcf DataMigration.tar.gz db files
- Move the compressed file into your root directory.
- Next, we’re going to use Basic HTTP Authentication to create a secure link that our team can use to access your backup. Have a look at the wikipedia article to see what we’re going to be doing.
- Write up a URL that follows this format:
https://[username]:[password]@www.[yourdomain].com/[filename of your backup]
NOTE: Because that link is accessed over a secure socket layer (HTTPS), the access details will be encrypted end-to-end. - Have someone test your link and make sure it works.
And that's it! The support team will ask you for your database backup along with you completed migration worksheet. We'll email you when we've migrated your data up to a sandbox instance where you can put the new platform through its paces.
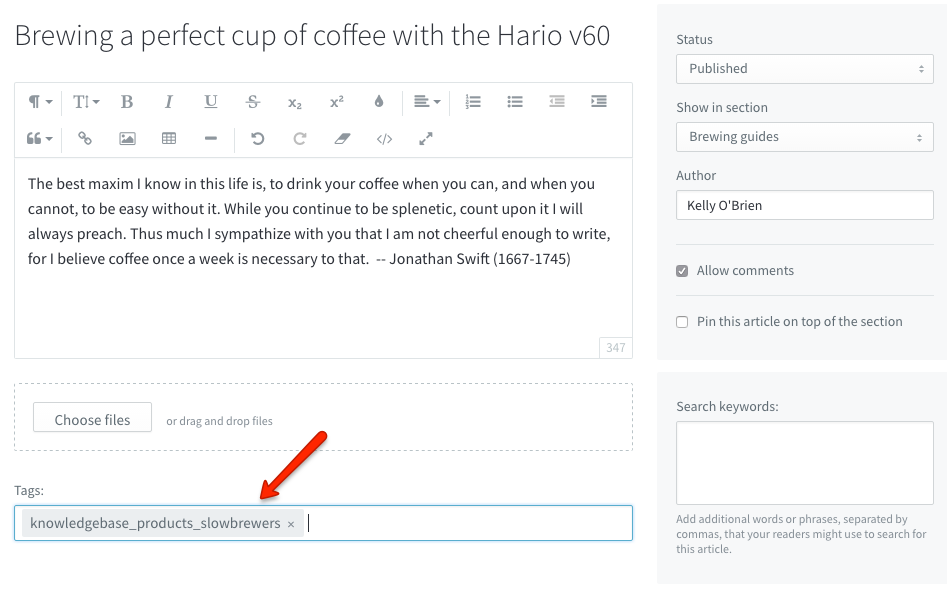
Kelly O'Brien