In order to improve your customers' support experiences, you need to know how they're going in the first place. Kayako's Insights pages have a collection of useful metrics, but sometimes that's not enough. Using custom reports gives you direct access to all of your conversation and customer data, and makes it available for quick export into a CSV spreadsheet.
Building custom reports works much the same as building views or automations – you'll select the conditions by which Kayako should filter your data, and then save your report. Once you've created a report, you can refresh it as often as you like, downloading an up-to-date copy whenever you need to. You can also control who has access to your reports, sharing them with all your agents or limiting it to particular teams or people.
In this article we'll walk you through the steps for creating custom reports in Kayako and exporting them into CSV files.
NOTE: For more help with Insights or reporting, have a look at our intro article, or our articles on performance metrics, SLA metrics, or Help Center metrics.
Running custom reports
You'll create custom reports from the Insights section of the agent area. From there, you'll be able to define the criteria for each report, and save them so you and your team can run them at the push of a button.
NOTE: To run a custom report in Kayako, you will need an agent or administrator account with the 'Can access insights' permission.
To run a custom report:
- Sign in to the agent area.
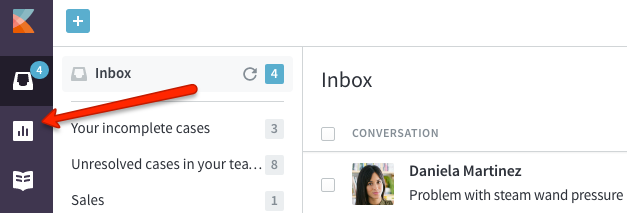
- Click on Insights icon in the sidebar.
- Click the Custom Reports link in the sidebar.
- Here, you'll see a list of all of the reports that have been created. Click the New Report button.
- In the Name text box, enter a name for your report. Let's say we want to look at open cases that are more than a week old, so we could go with 'Unresolved cases, older than a week'.
- In the 'Sharing' section, select whether you'd like the report to be visible only to you, or to be available to one or all of your teams.
- From here, you'll define the conditions that conversations must meet to be included in this report. Click the Select a criteria dropdown to expand it.
- For our example, the first condition would be case status. Select 'Conversations: Status, not equal to, Completed' to exclude completed conversations from the report.
- Click the +AND button to add another condition.
- Click the Select a criteria dropdown, and select 'Conversations: Time since case created, greater than (business hours), 40' to specify cases that were created more than a work week ago.
- You can always add additional criteria to refine your report further.
NOTE: For help with what conditions are available, and what they mean, refer to our reference guide for conditions and actions. - Below your criteria, you can review a sampling of the conversations that will be included in your report.
- Click the Save button to create and run your report.
- Depending on how large your report is, it might take a while to finish running. You'll see a label that will keep you updated on the progress of your report:
- When the report is ready, you'll get an email, and the label will change to show it's ready. Hover over the report, and click the Download link to save a copy of the CSV file.
- At any point, you can come back to this screen and hit the Refresh report link to run the same report with your most current data.


Kelly O'Brien