For support managers, team leads, and other power users, the admin area is where you'll configure most of Kayako's workhorse features. That includes settings for your support channels, options for customizing the conversation experience, and features for integrating and automating important aspects of your workflow.
In this article, we'll give you a high-level introduction to the admin area of Kayako. We'll also highlight some of the features you may want to try out next, with links off to other areas of the user guide.
Exploring Kayako's admin features
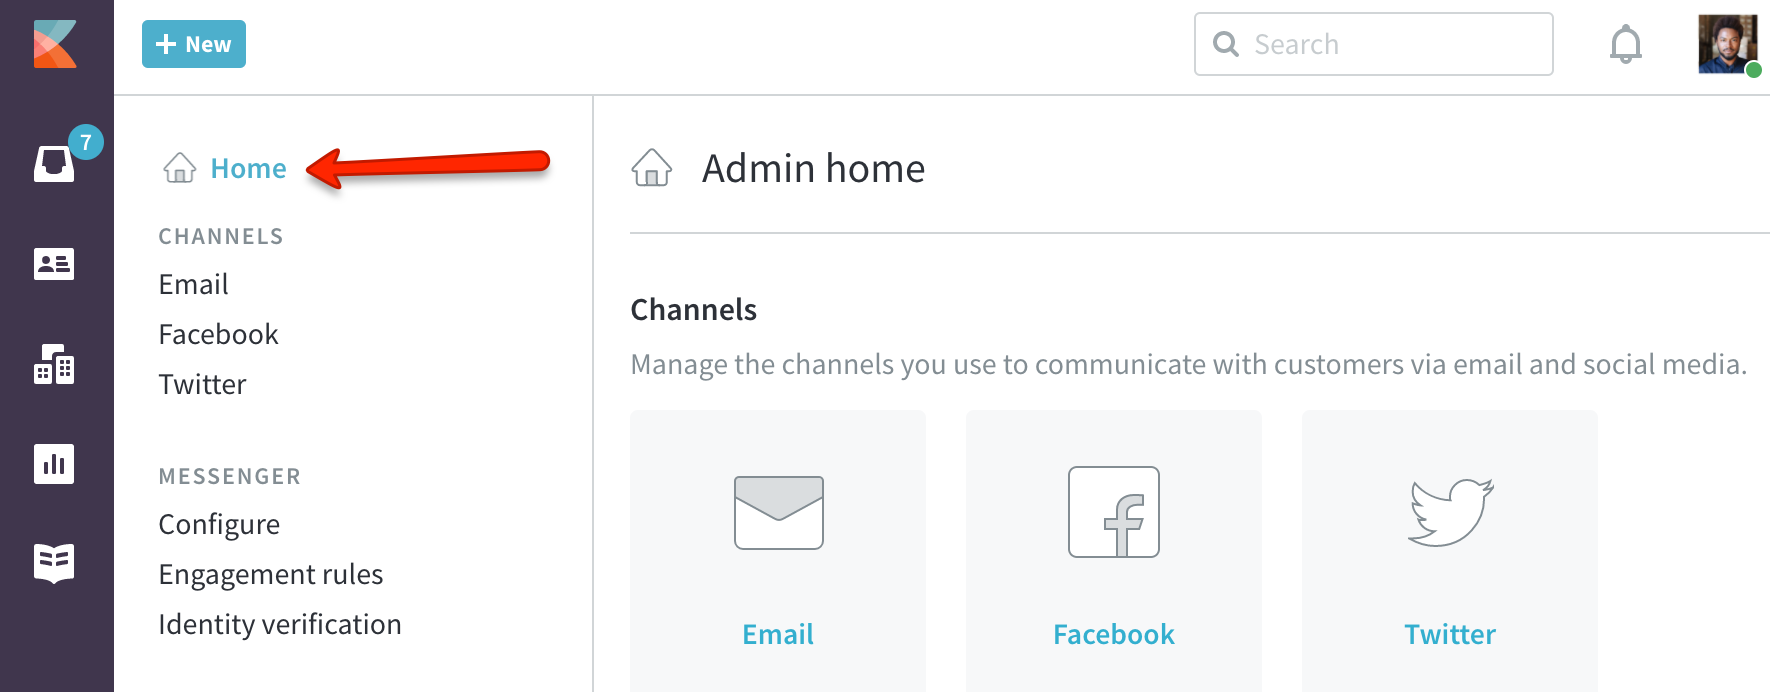
When you sign in to Kayako with an administrator account, you'll see a gear icon on the bottom of the sidebar throughout the agent area.

Clicking on the gear icon will take to the admin area's landing page. What you see on this page – and in the sidebar menu – will depend on which pricing plan your company is subscribed to. In this article, we'll cover all the possible configuration options you'd see if you've subscribed at our top tier plan.
Both the landing page and the admin sidebar are grouped into functional areas. Let's take a quick look at each section:
-
Channels – Add and edit the email and social media channels you use to communicate with your customers. You can manage your support team's email addresses, Twitter accounts, and Facebook pages from here.
-
Messenger – Configure your customers' live chat experience with Kayako Messenger. You'll also find what you need to send proactive messages with engagement rules, and seamlessly log users in via your own systems with identity verification.
-
Conversations – Organize your support queue with views, and ask your customers for important information with forms. You can also toggle time-tracking on/off here.
-
Customizations – Tailor your customer communications by modifying your email templates. Refine your customer experience by customizing your brand or defining more than one. You can also store as much custom data as you want about your conversations, users, or organizations, with custom fields. And finally, you can configure additional languages for localized support.
-
Team Settings – Add your support agents to Kayako by creating user accounts from the 'Agent Directory', and then organize them into functional teams. You can also define your team's business hours, and configure specific user roles and permissions.
-
Automation – Build powerful, time-saving automations. For example, macros enable your team to save and reuse common replies and updates. You can track your response times with SLAs and also automate important aspects of your support workflow with triggers and monitors.
NOTE: If you haven't gotten started with any automations yet, we'd recommend you start with our intro to automation article.
-
Integrations – Connect Kayako with your other favorite applications. You can opt to use Zapier's friendly web-based interface or build those connections manually with user-defined webhooks, endpoints, or the full Kayako API.
-
Security – Protect your Kayako with security policies and settings that govern everything from user registration and logins, IP restrictions, password policies and more.
- Account – This section of the menu is home to all your Kayako account settings. You'll be able to view and check your account details, edit your billing information, or change your subscription plan.
If at any point, you need help finding something, click back to the admin landing page to orient yourself:
Kelly O'Brien